Software setup for jDuck using Docker Container
Step1: Clone jduck repos from our github
1 | |
Step2: Build and enable Docker containers
cd to jduck/Docker directory
1 | |
Docker Directory
The contents of the Docker directory is shown as belows:
1 2 3 4 5 6 7 8 9 | |
Build all of the docker containers
1 | |
Run all of the docker containers
1 | |
Open jupyterlab from host PC/laptop browser
From your host PC/laptop browser, type in the following address:
YOUR_JDUCK_IP_ADDRESS:8888/lab?
password: jduck
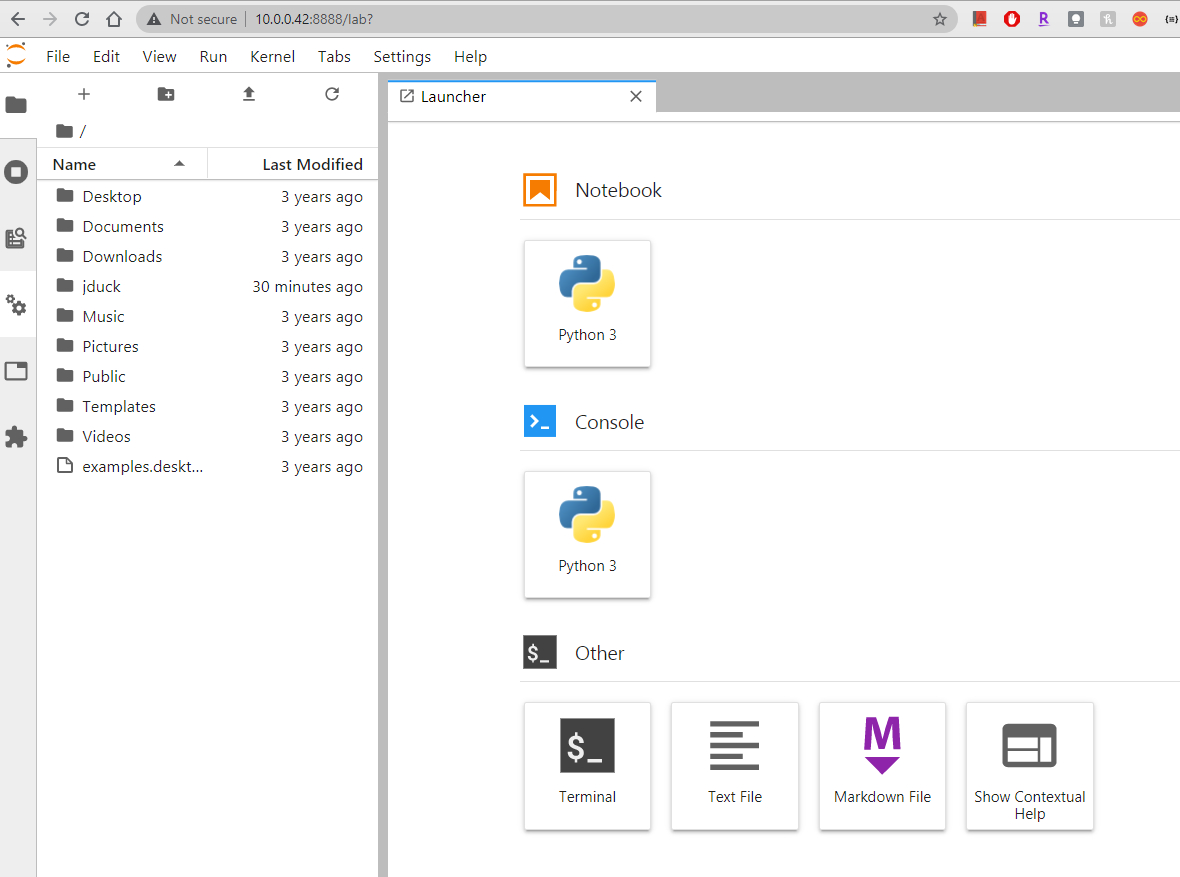
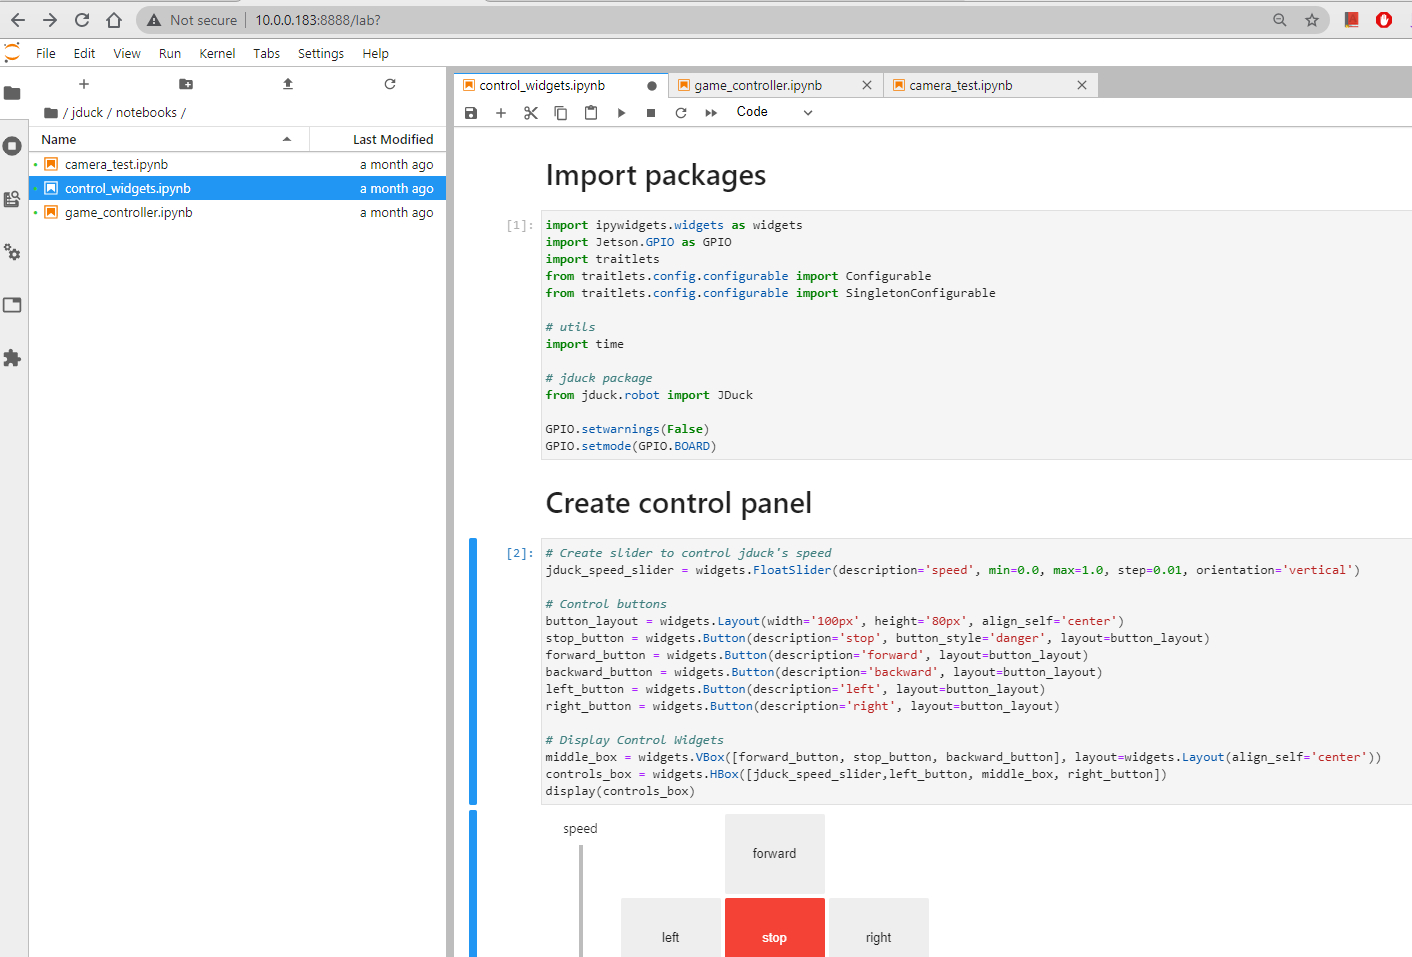
Open example Notebooks
Go to jduck/notebooks for basic examples that control the robot via control panel or gamepad controller.
Docker Tips
Once you execute the enable.sh script, the containers are set to restart automatically. This means you can shut down your jDuck, and when you reboot the containers will run and you don't need to repeat this process.
To prevent the containers from starting automatically, just call the disable.sh script.
1 2 | |
Run "docker ps" to list containers that are currently running. The jduck:pwm and jduck:jupyter containers should be available after step 2.
1 | |
